


8-Foot Grim Reaper
The Reaper
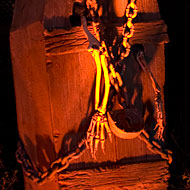
 This is the finished 8-foot grim reaper as it appeared during Halloween 2003. The photos from the first year are not web worthy. There were three main objectives in the design of the prop. First, it had to be big. At eight foot tall, it is big but it can fit inside a normal room if required. Second, it had to have poseable arms. I wanted to be able to position the scythe and hands in different ways according to the set. And third, it had to be easily stored. We do not have storage space for large monster-mud styled static props. With those requirements in mind, here's what we can up with.
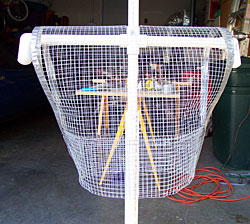 The grim reaper is made of simple, easy to find materials. The frame is constructed of 1-inch Schedule 40 PVC pipe and fittings. I'm a proponent of having proper proportions when constructing human-like props. For an armature 96-inches tall, the shoulder width should be 23-24 inches to maintain a human-like scale. Here's a great calculator that can help with proportions. Two 11-inch pieces of pipe are used for the shoulders. The pieces are connected together with a 4-way fitting. A 45-degree fitting is attached to each shoulder pipe and an end cap is attached to each 45 degree fitting with a short 1-inch piece of pipe. A 9-inch piece of pipe is used for the neck and a 4-foot section of pipe is used for the top part of the body. A 2-foot by 4-foot piece of hardware cloth is positioned over the neck and enough wire is removed to allow the neck pipe to just slip through. (Hardware cloth is usually found next to poultry wire or chicken wire in the home improvement stores.) The hardware cloth is then bent down to form the chest and back areas.
 The edges of the hardware cloth were covered with duct tape to prevent the costume material from snagging. The bottom of the hardware cloth was overlapped and secured with wire to create a narrower bottom. Two of the four arm sections are made from 15 inch sections of pipe with an end cap on each end. The other two arm sections were made the same way but were each 12 inches long. The arm end caps were attached to the shoulder end caps using coat hanger wire.
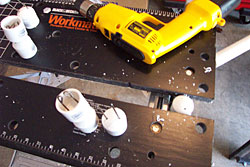 The coat hanger wire was placed through two small holes drilled into an end cap. The wire was looped back on itself to keep it from pulling back through.
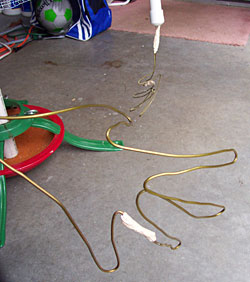 Coat hanger wire was also used to form hands that were slipped into latex gloves. The fingers were a little shorter than the gloves but still provided the ability to "grip" the scythe. The hands were attached to the end cap on the lower arm using the same method as the other joints.
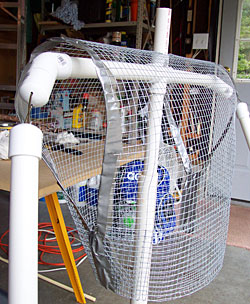
 An old christmas tree stand provides the base for the prop. A three foot section of 1.5" PVC was mounted using the stand's 4 screws. The 1-inch "body" pipe was just slipped down into the larger pipe. In this picture the other 3.5 foot section of body has not been attached. When the prop is placed in the yard the stand and lower pipe is securely fastened to a four foot section of rebar which was driven into the ground. The prop can be rotated even after the stand has been secured.
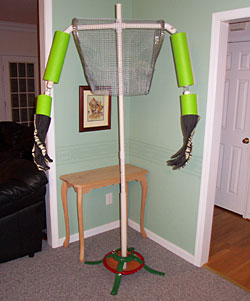 In this picture the other 3.5-foot section of body pipe has been attached to the upper 4-foot section using a coupling fitting. It's much easier to store two smaller sections of pipe than one long piece. Sections of foam from pool noodles have been added over each of the arm pipes to provide some bulk. The latex skeleton gloves are fitted over the wire hands and are pulled up over the lower arms. All of the PVC joints were secured with small screws.
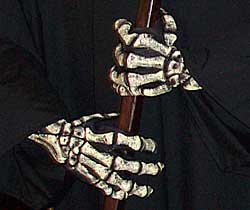 Here's a closer look at the latex gloves I used.
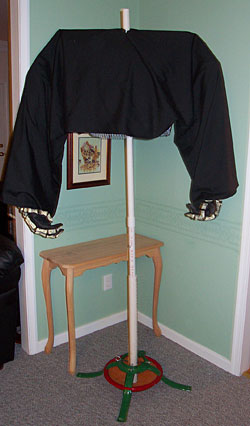 Three pieces of black fabric form the costume. A piece of fabric long enough to cover the length from one hand up across the shoulders and down to the other hand was cut. The width of the fabric was the same as it came off the bolt. A seam was stitched on each side of this from the hand up to about the armpit of the armature. The unstitched area must be large enough to allow the fabric to slide down over the chest. A small hole was cut to allow the neck to come through.
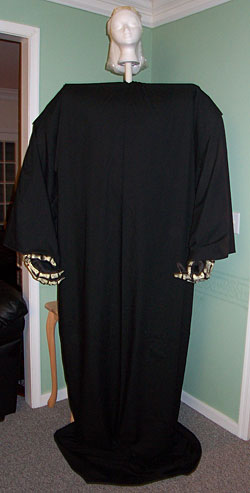 A second piece of fabric long enough to cover the entire length of the armature on both sides was then cut. Once again, a seam was stitched up each side up from the bottom of the fabric up to the chest area. This opening allows the arms to be pulled out. A small hole was cut in this piece as well to allow the neck to come through. A styrofoam wig head was used under the mask for this project. The wig head has some poly fill attached in the back to create more bulk inside the mask.
 A mask is placed over the wig head and secured with pins.
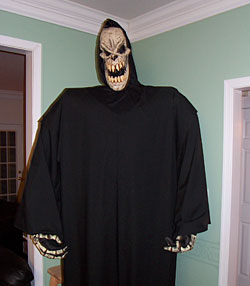
 A third piece of fabric is used to form a hood over the top of the mask.
 Here's the fully dressed reaper.
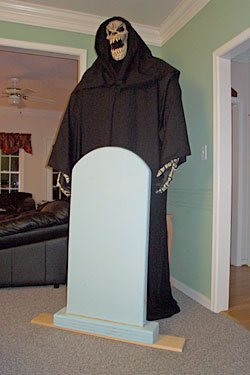 Here's the fully dressed reaper with the unfinished 4-foot tombstone. We have 9-foot ceilings in our living room so he had a little headroom.
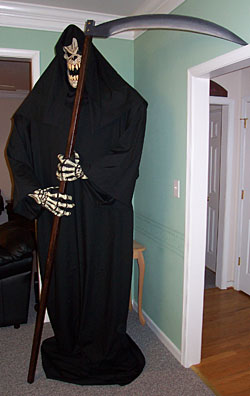 What good is a big grim reaper without a big scythe? The local discount store was out of 8-foot scythes so I had to make one. Follow the link below to see how it was done.
<<< Back to Grim Reaper Background On to The Scythe >>>