


$25 Full-Size Toe-Pincher Coffin
The Coffin
 We started this build with locally purchased materials.
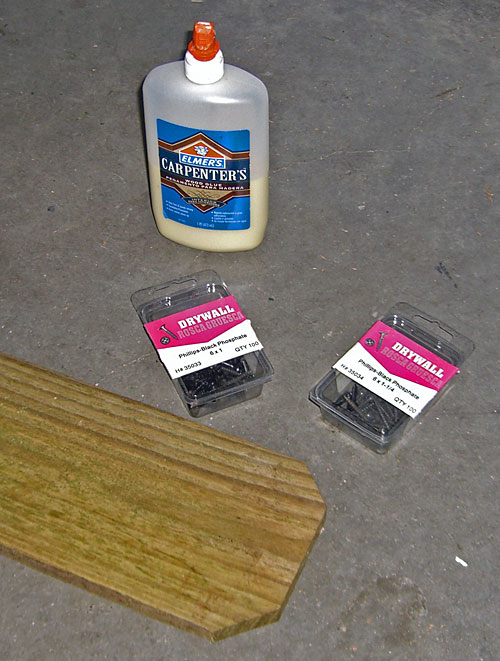
Cost of materials:
$15 for 15 Fence Pickets
$5 for drywall screws
$4 for wood glue
$24 Total Cost
We used fifteen 1" x 6" x 6' pressure treated pine dog ear fence pickets from the local home improvement store. While the nominal size of the lumber was 1" x 6" the actual size was 5/8" x 5-1/2" x 72".
We also purchased two packages of drywall screws in both 1 inch and 1-1/4 inch lengths. Since the pine is a soft wood, the drywall screws tended to countersink themselves. So the 1" screws generally worked fine in holding two 5/8" boards together.
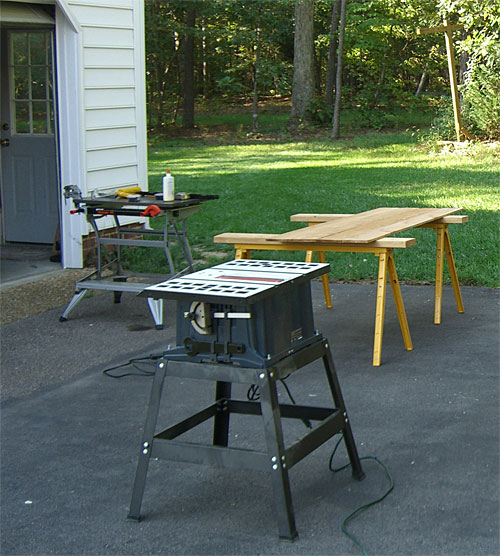 Since there were 15 boards that needed to be cut, a table saw made the job much easier. We also used a couple of saw horses to keep the work up at a comfortable level.
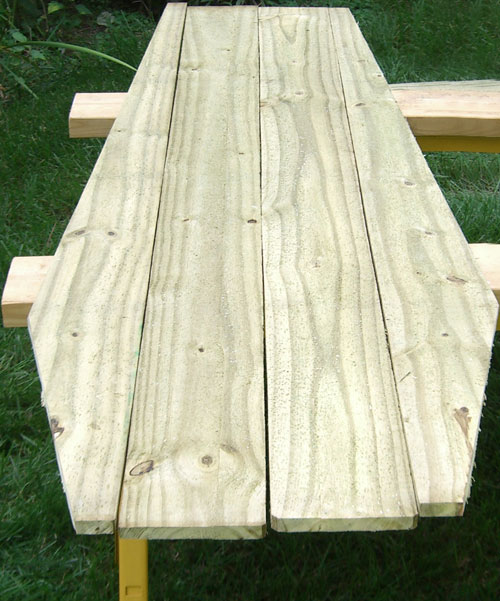
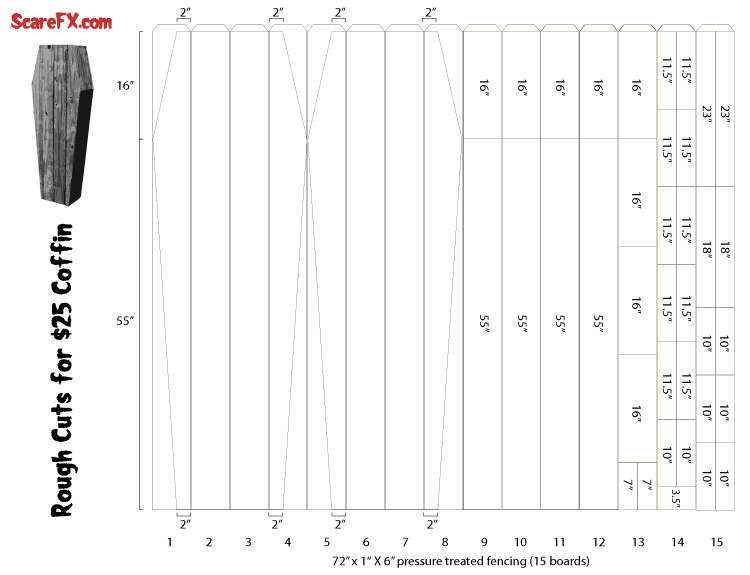 The 15 boards needed to be cut to pretty specific lengths to avoid waste. The diagram on the right shows the rough cut lengths for each of the 15 fence pickets. The diagram is also available in a PDF format. The board numbers are listed on the bottom and we will refer to board numbers as we go through this project description. These are rough cut dimensions and most of the boards required some trimming either for length or angle.
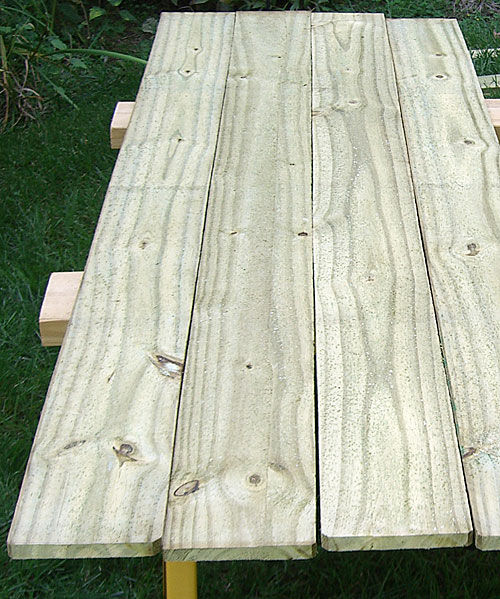 Because the pickets have the dog ear notches on each of the top corners, each board had to be trimmed. We cut one inch off the top of each board so the total length of the coffin ended up being 71".
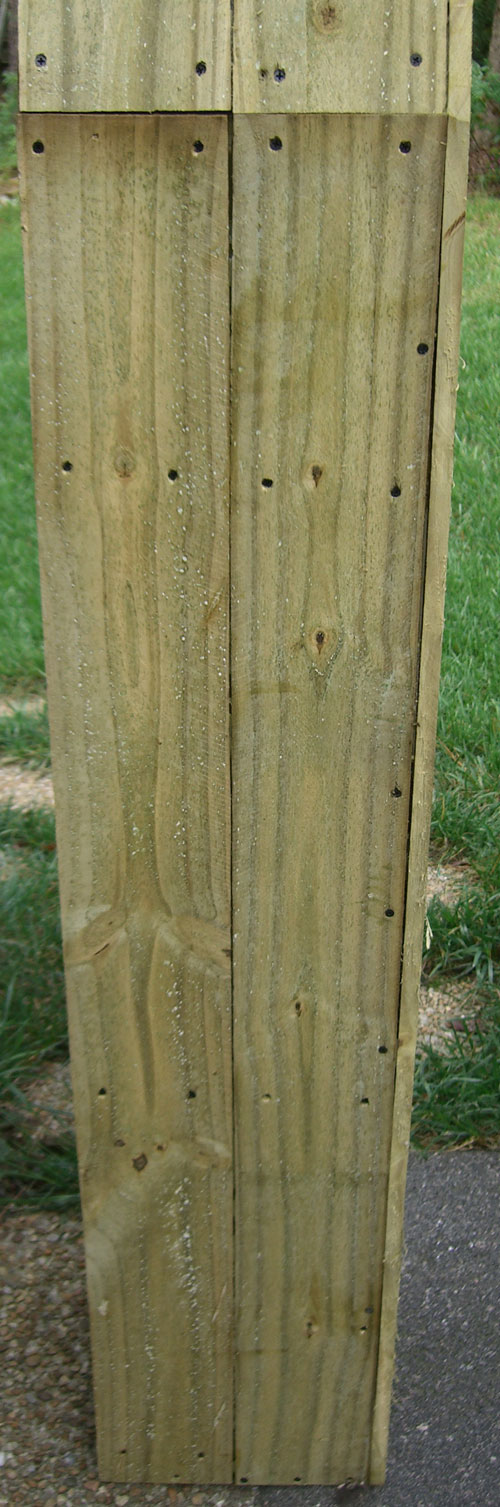
Here is a picture of boards #1 through #4 with the dog ears trimmed off. All the other boards were trimmed by one inch as well.
 Boards #1, #4, #5 and #8 form the sides of the top and bottom of the coffin. These must be cut to achieve the toe-pincher angles. Marks were made two inches from one side on both the top and bottom edges. Another mark was made 16 inches from the top on the side opposite the other two marks. The marks were connected by a line which was used for the cuts. We ended up with two sets of four boards shaped like those in the picture on the right.
 The four boards that formed the top of the coffin were attached together as shown in the picture (this was the inside of the top). The two longer cross pieces were made from the 23" and 18" sections of board #15. These were trimmed to allow room for the side wall to clear when the top was placed on the coffin. Four of the 10" sections from board #15 were used on the top and sides. These were also placed to allow the sidewalls to clear each piece. Each of the pieces was glued and screwed in place.
 The remaining 23" and 18" sections of board #15 were used to secure the four boards that formed the bottom of the coffin.
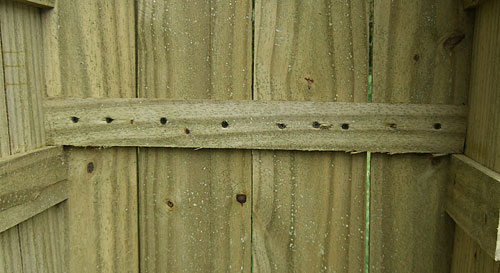
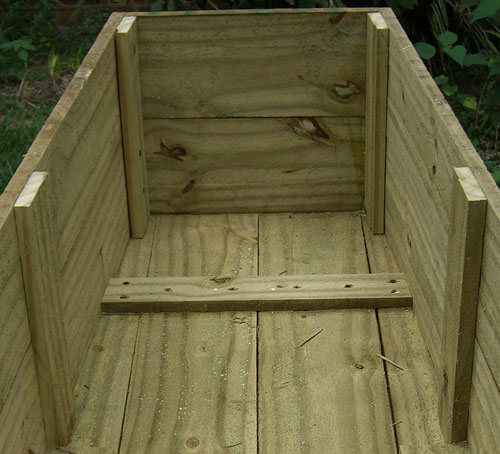
 The 16" sections of board #13 were used for the top and bottom sidewalls. The 7" sections of board #13and the 3.5" section of board #14 were used to secure the sidewalls at the head of the coffin to the bottom. The remaining two 10" sections from board #15 were used to secure the center sidewalls to the bottom. Each was trimmed to fit the in the appropriate place and attached with glue and screws. The ten 11.5" sections of board #14 were used for the vertical ribs that held the sidewalls together.
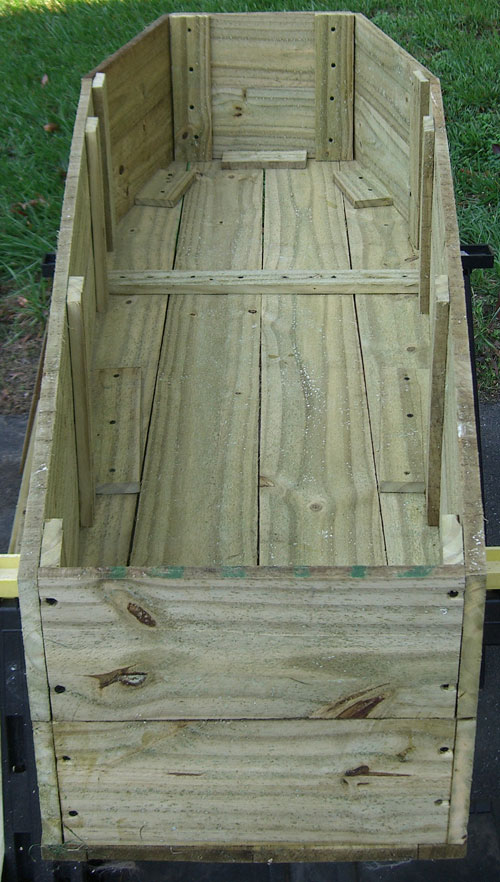
 The vertical ribs also provided the support and gluing surface for the corners of the coffin.
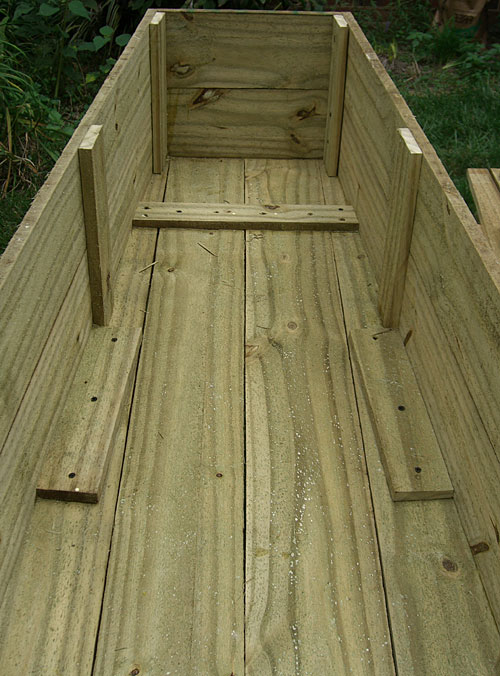 The 18" cross member from board #15 provided the sidewall support near the foot of the coffin. Therefore the two 10" sections of board #14 were not used.
 The vertical ribs were all glued and screwed to the sidewalls and foot section.
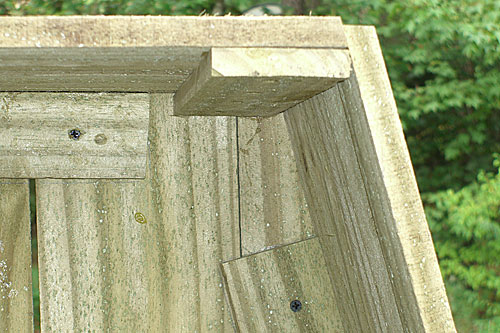
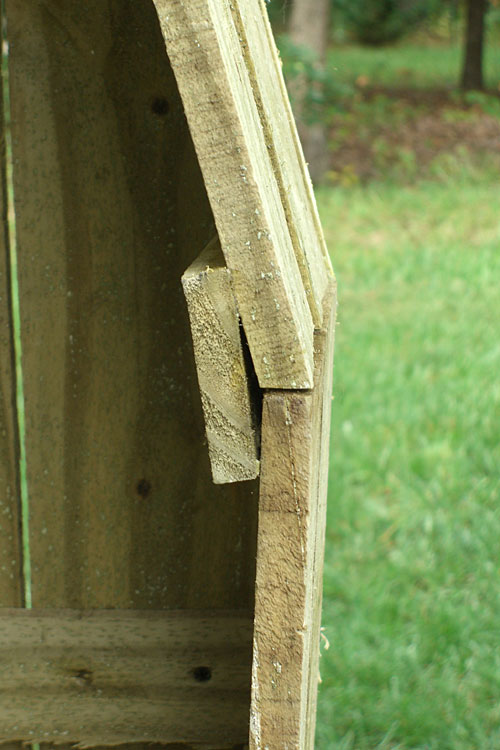 One of the vertical ribs was used to secure the angle at the shoulder area of the coffin. This was probably the weakest joint so extra glue and screws were used.
 The upper sidewalls were screwed to the vertical ribs and the sidewall support pieces attached to the bottom.
 The lower sidewalls were also screwed to the vertical ribs and the sidewall support pieces attached to the bottom.
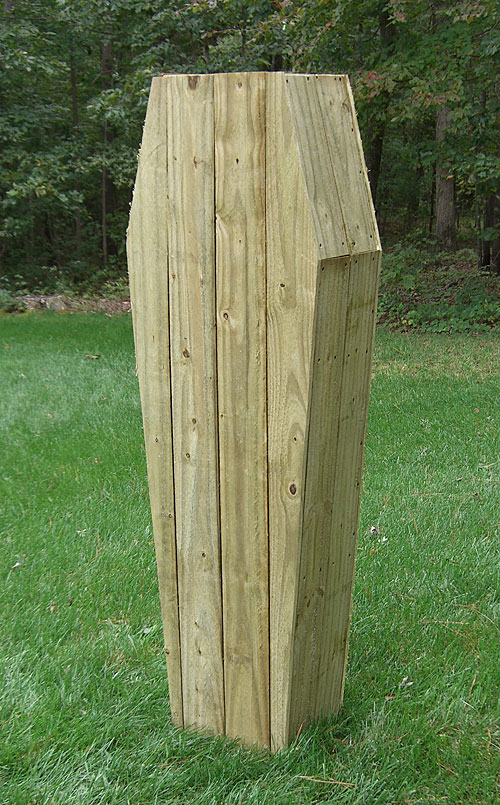
 The finished product could be used standing upright with the lid off...
 ...or the lid on.
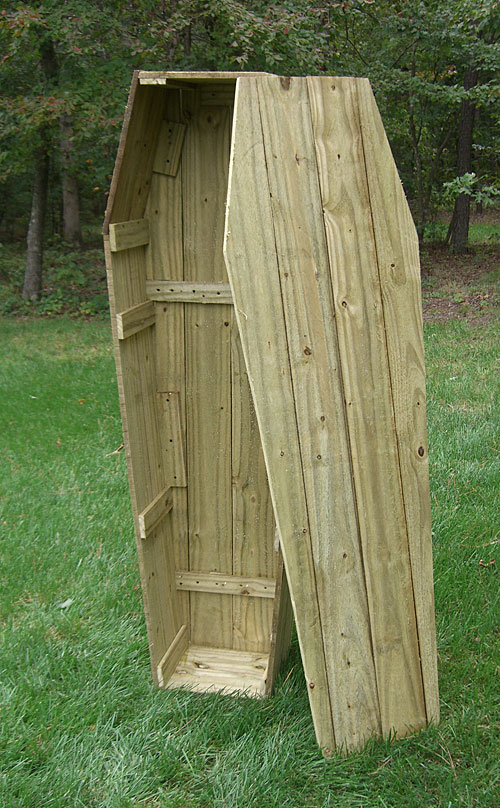
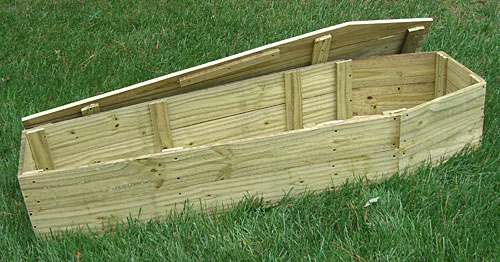 It could also be used in a horizontal position with the lid off...
 ... or the lid on.
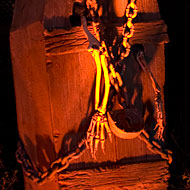
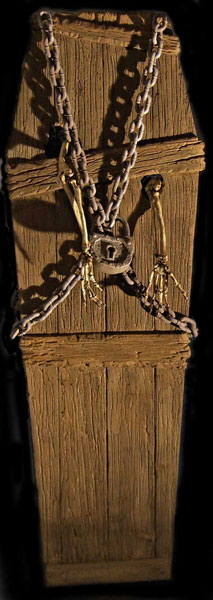
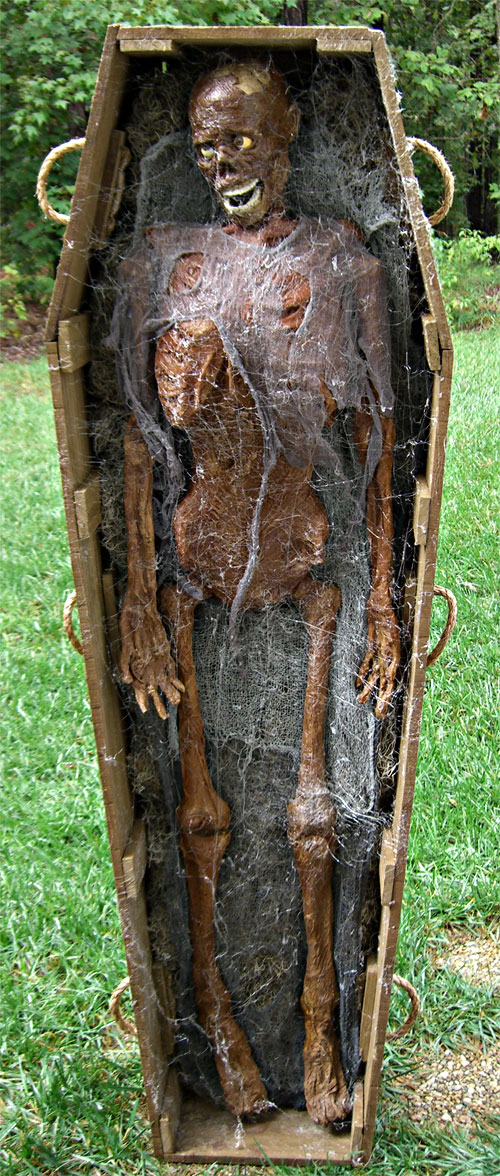 We added some rope handles to the coffin. It's now the home for our new corpse.
Hope this project is one you will consider building for your haunt.
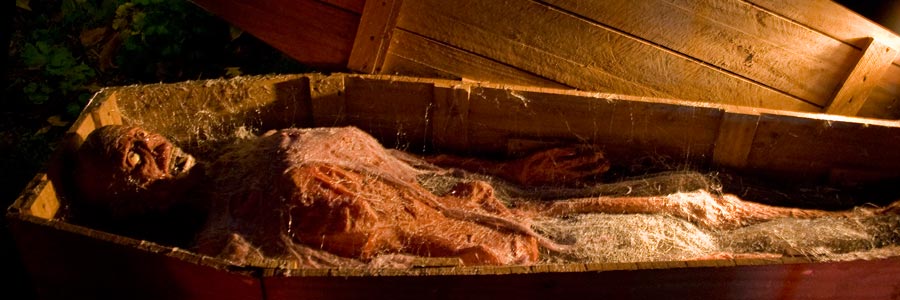
 Here's how the coffin was used in a scene for Halloween 2006.
 I used the same design to create an animated version. View a 20 second video clip here.